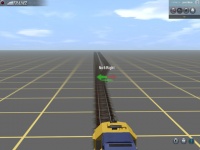
ProToolz Switch Template
| Using these templates you will be able to create perfectly aligned switches / points / turnouts in minutes. |
| 1) All tools are accessed by selecting 3DTrains in the Region window of the Objects tab. Does not apply to all versions, if your version has no region window, use Filter and 3dtrains
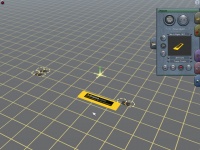
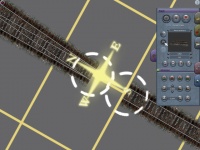
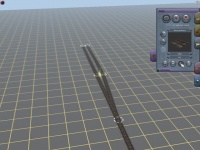
Start by selecting and dropping in one of the ProToolz templates from the Objects tab. You may move and rotate it into place, or start building the switch right away, or you can build the switch anywhere on the baseboard, and move/rotate it into place whenever you're ready! |
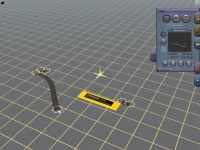
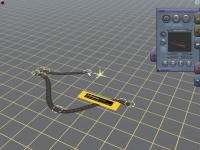
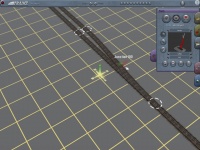
| 2) Select the track tool, and lay-in a section to any of the inside points of the template. You'll note in the picture that I'm placing the spline point away from the center of the switch template. This is so that the splines won't jump to an adjacent spline. |
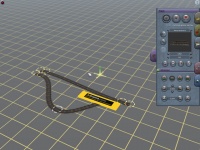
| 3) Because you cannot connect the same track piece within the template, you'll need to add-in another section and then link it the template point. The previous example in Step 2 becomes clear. |
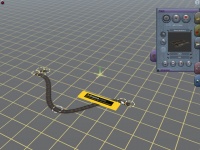
| 4) Repeat the process for the lead adding in a spline away from the center of the template. Add in another to the switch point as in Step 3. |
| 5) Using the delete spline tool, remove the extra spline points in the center of each new track section. |
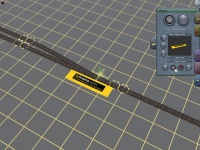
| 6) OK, now you can either continue to build - adding track to any of the outside points of the ProToolz template, or you can grab the big yellow 3DTrains box and drag to the desired location. If you haven't yet done so, move/rotate the entire switch into place.
Tip: Use the straight edges of the yellow 3DTrains box to align the switch. Set it against the mainline near where you'll be placing the switch. |
| 7) Once the outer points have been connected (and you're satisfied with the placement of the switch), delete the entire jig. |
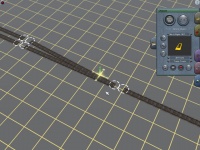
| 8) Now we need to fill the gaps left by the ProToolz template. Connect the tracks of the mainline and/or branch line to the relevant outer points of your new switch: |
| 9) You're almost home, but not there yet. The spline from the turnout will curve to meet its connecting piece, so we'll need to straighten the track:
Select the Straighten Tool from the Track Tab and click on each piece of track (except the 1st lead spline). |
| 10) Add-in a switch lever, and then move the lever towards the switch point. Also, you can rename the lever at this time if you like (use the "?" icon). |
| You're Done!
And there you have it. A razor-sharp turnout, and the whole process took less than a minute! As Rob at Auran would say: "...and that's all there is to it!" |
| Uses
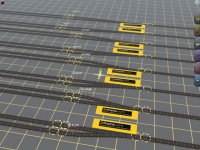
Right and left versions of the ProTools templates consist of #4's, #5's, #6's, and #8's. Since Trainz allows for a larger space than what you might build at home in a model layout, use the following as a guide when selecting the appropriate switch size:
|
