How to Use Layers
 |
Contents |
The Layers Tool
 |

| Click the Layers Tool to open up its properties.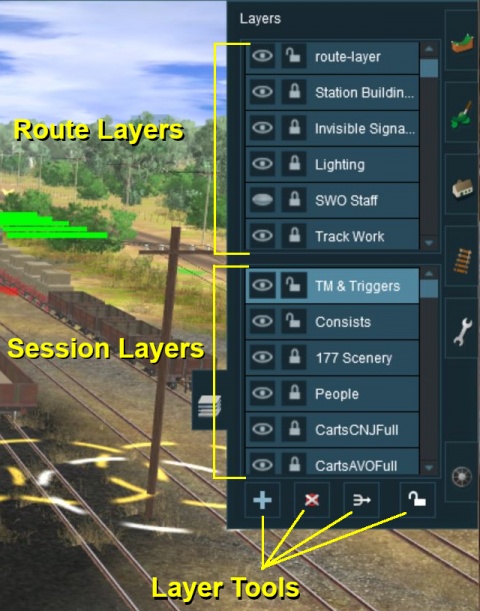 |
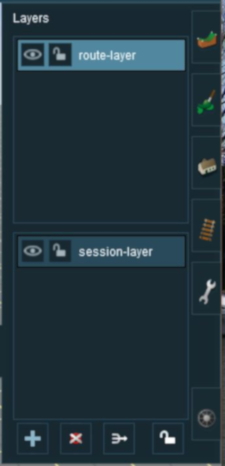
The layers are organised into two groups:-
- Route Layers in the top group, and
- Session Layers in the lower group.
With the Layer Tools (Add, Delete, Merge and Lock) below them.
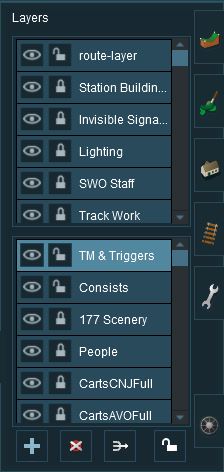
Each group contains multiple layers - the scroll bars next to the layer names indicate that there are more layers in each group.
Loading a Route and Loading a Session
The layers you will see will depend on whether you have loaded into Surveyor a Route by itself (with no "child" Session) or a Session and its "parent" Route.
| An important lesson here is:- |
||
|
If you load a ROUTE without a SESSION then only edit the Route Layers |
||
| If you load a SESSION then you can edit BOTH the Route Layers and the Session Layers | ||
Creating a New Route
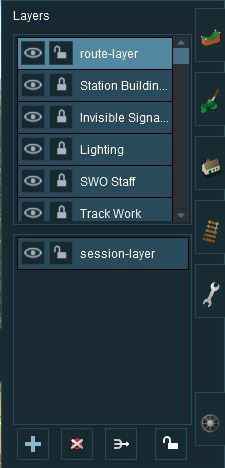
When a brand new route is created it will come with two layers, a single "route-layer" and a single "session-layer".
 |
|
Adding a New Layer
| Click the Add Button |
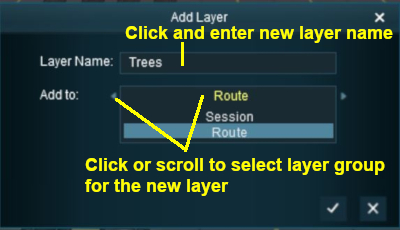
A New Layer dialogue window will appear.
 |
|
Click the Tick button to accept the changes.
Deleting a Layer
| Select the layer to be deleted and click the Delete Button |
| Deleting a layer will delete ALL the objects placed in that layer except objects that are "Bound" to that layer. |
Merging Layers
| Select the layer to be merged into another layer and click the Merge Button |
| Merging a layer into a second layer will move ALL the objects from the first layer into the second layer. The first layer, which is now empty, will then be deleted. |
Locking Layers
Locking ALL Route Layers
| Click the Lock Button |
Locking Individual Layers
Moving a Layer
Hiding Layers
Adding Objects To Layers
Layer Contents
There are no "cast iron" rules that dictate what should be placed in the Route Layers Group and what should be placed in the Session Layers Group. Each Route and Session will be different and different creators have different ways of working. The main question to be considered is how many different Sessions will be created using a particular Route?
- For a Route with only a single Session - everything can safely go into the Route Layers Group
- For a Route with multiple (2 or more) Sessions - certain things will need to go into the Session Layers Group for each Session. This will create the differences between the Sessions.
The Route Layer Group
The Route Layer Group should be used for everything that you want to be visible in every single Session (if you have multiple sessions).
- There is nothing stopping you from placing everything in the "route-layer" that is provided with every Route and never have to worry about managing layers ever again. However, layers do provide you with a way of organising your scenery objects to make them more manageable.
The "route-layer"
While all layers are equal, the "route-layer" is special.
