How to Perform Database Repairs
m (→How to Create a "Clean Database") |
m (→Trainz Wiki) |
||
| Line 286: | Line 286: | ||
</tr> | </tr> | ||
</table> | </table> | ||
| + | |||
| + | [[Category:How-to guides]] | ||
Revision as of 07:03, 27 January 2019
This guide will take you through the process of performing manual database repairs and clean database installs. TRS19 and TANE will automatically perform database repairs when they detect corruption in the Trainz database but sometimes a manual repair or even a manual clean install of the database is required.
Contents |
What is the "Trainz Database"?
| The Trainz Database contains all the installed assets |
In the earliest Trainz versions all the assets that came installed with Trainz, or that you installed from the DLS or downloaded as .cdp files, were stored as separate folders on your designated data drive. This made it easy to access the assets for editing and other operations. However the penalty was that each time you started Trainz it had to scan the assets to check their integrity and the more assets you had the longer the startup took. This led to a great many complaints from users.
Today, all installed Trainz assets are added as records in an asset database which has significantly sped up the startup process and has reduced the possibility of accidental data corruption by users. The penalty is that users can no longer access the installed assets by using Windows Explorer. Access to the assets in the database for editing and examination is through the Content Manager program.
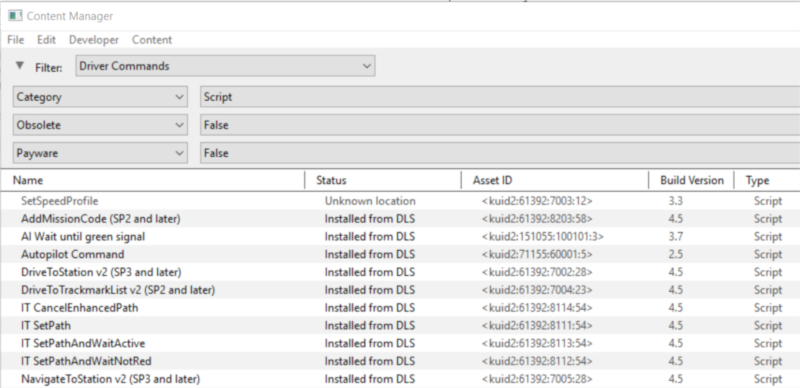
Because it is a database manager, Content Manager also provides users with many more search, display and management options than were ever previously possible. Each entry in the display shown below is a single record in the Trainz database. Each entry can be easily opened for editing, it can be deleted, copied (cloned) and updated. New assets can be manually created or installed from other sources.
How to Perform a Database Repair (a DBR)
| A DBR performs a "surface scan" of the database detecting missing content and content errors. It will update your database and can clean up some corrupted data. |
This is the simplest and (usually) the fastest option.
| If you have installed a new asset that CM reports has having "missing" or "unknown" assets then a DBR is very unlikely to find those missing assets. |
|
|
|||||
 |
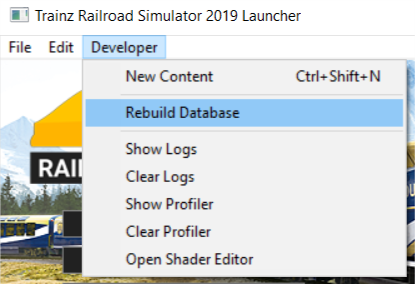
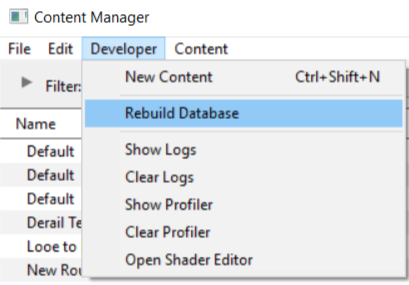
Steps (both TRS19 and TANE):
|
||||
|
|
|||||
The process will proceed automatically and unaided through a number of steps, only some of which are shown below. The time required for each step will vary enormously (some will take much longer than others) and the total time involved will depend on the number of assets installed, the speed of your system and other factors.
1. Scanning for deleted asset files

2. Scanning for added asset files

3. Importing built in assets

4. Rebuilding cached asset data

The Rebuilding Trainz Asset Data window will disappear if the DBR process has been successfully completed without finding any errors. If errors have been found then the window will remain on the screen to report on the number of errors and warnings.
How to Perform an Extended Database Repair (an EDBR)
| An EDBR performs a "deep scan" of the database and checks that the data in every asset conforms to the rules for that type of asset |
This is a more complex, slower and potentially more dangerous repair. An EDBR will detect and flag errors in the data that a DBR will miss. It runs every single asset in the database through the same error and compliance checks that are run when a new asset is installed.
Notes:
|
| It is not unusual for CM to display a list of faulty assets that were not shown as faulty before the EDBR was run |
|
|
|||||
 |
Steps (both TRS19 and TANE):
|
||||
|
|
|||||
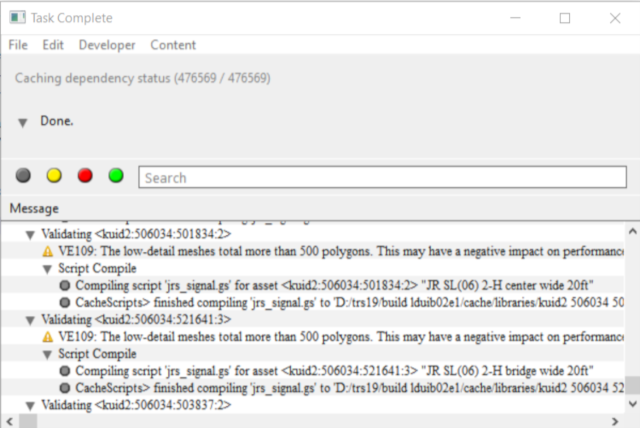
A possible result of an EDBR.
How to Create a "Clean Database"
|
|
|||
 |
Step 2: In TRS19 (or TANE) Launcher
|
||
|
|
|||
|
|
|
 |
Step 3: Restart and Reconfigure
You will be prompted to download any DLC assets that you may have previously purchased. You can install them now or delay their install until later. |
|
|
|
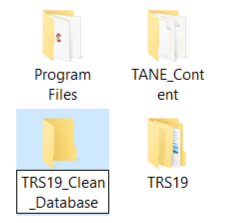
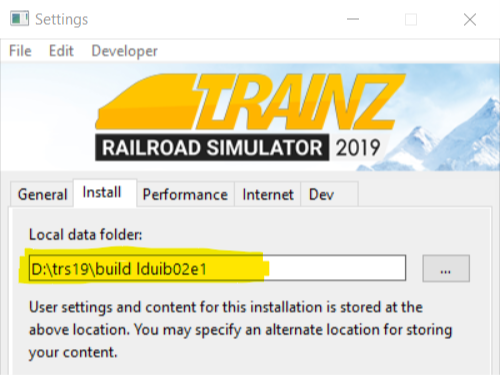
Your original (and possibly faulty) database is still on your system at the location you recorded in Step 2 above. You may choose to leave it there (it will take up a many GB of space), move it to offline storage or delete it.
Trainz Wiki
 |
More Tutorials and Guides to Using Trainz |
