How to Use Layers
From TrainzOnline
(Difference between revisions)
m |
(→Deleting a Layer) |
||
| Line 111: | Line 111: | ||
</tr> | </tr> | ||
</table> | </table> | ||
| + | ---- | ||
| + | <table> | ||
| + | <tr valign="top"> | ||
| + | <td>[[file:DotPoint.JPG]]</td> | ||
| + | <td>'''Deleting a layer will delete ALL the objects placed in that layer''' except objects that are "Bound" to that layer.</td> | ||
| + | </tr> | ||
| + | </table> | ||
| + | ---- | ||
=='''Merging Layers'''== | =='''Merging Layers'''== | ||
Revision as of 14:05, 3 June 2018
 |
Contents |
The Layers Tool
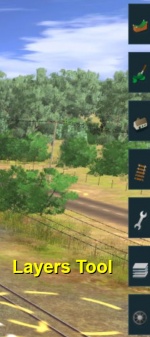 |

| Click the Layers Tool to open up its properties.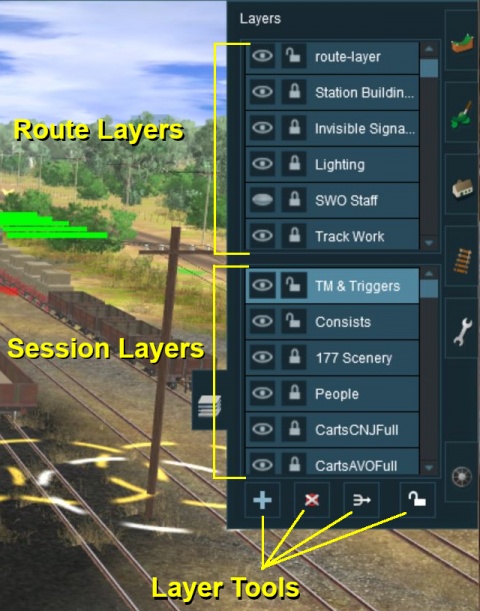 |
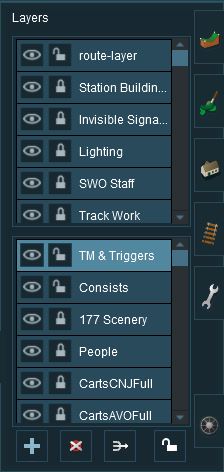
The layers are organised into two groups:-
- Route Layers in the top section, and
- Session Layers in the lower section.
With the Layer Tools (Add, Delete, Merge and Lock) below them.
Each section contains multiple layers - the scroll bars next to the layer names indicate that there are more layers in each section.
Loading a Route and Loading a Session
The layers you will see will depend on whether you have loaded into Surveyor a Route by itself (with no "child" Session) or a Session and its "parent" Route.
Creating a New Route
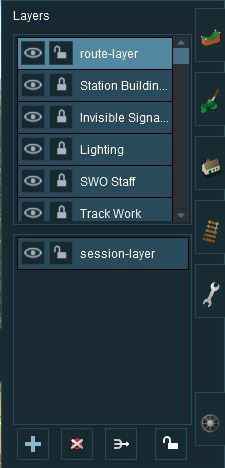
When a brand new route is created it will come with two layers, a single "route-layer" and a single "session-layer".
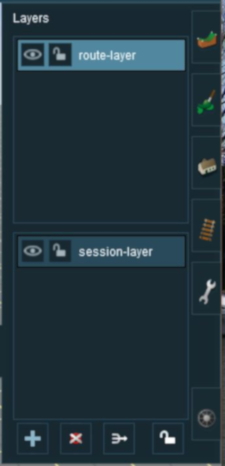 |
|
Adding a New Layer
| Click the Add Button |
Deleting a Layer
| Select the layer to be deleted and click the Delete Button |
| Deleting a layer will delete ALL the objects placed in that layer except objects that are "Bound" to that layer. |
Merging Layers
| Select the layer to be merged into another layer and click the Merge Button |
Locking Layers
Locking ALL Route Layers
| Click the Lock Button |
