TurfFX Effect Layer
Tonyhilliam (Talk | contribs) |
Tonyhilliam (Talk | contribs) (Redirected page to Help:TurfFX Effect Layer) |
||
| Line 1: | Line 1: | ||
| + | #redirect [[Help:TurfFX_Effect_Layer]] | ||
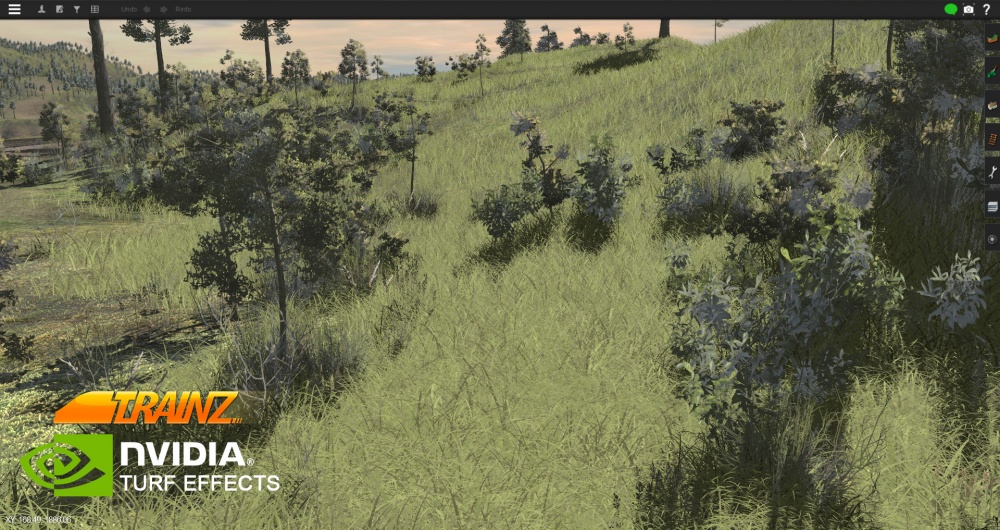
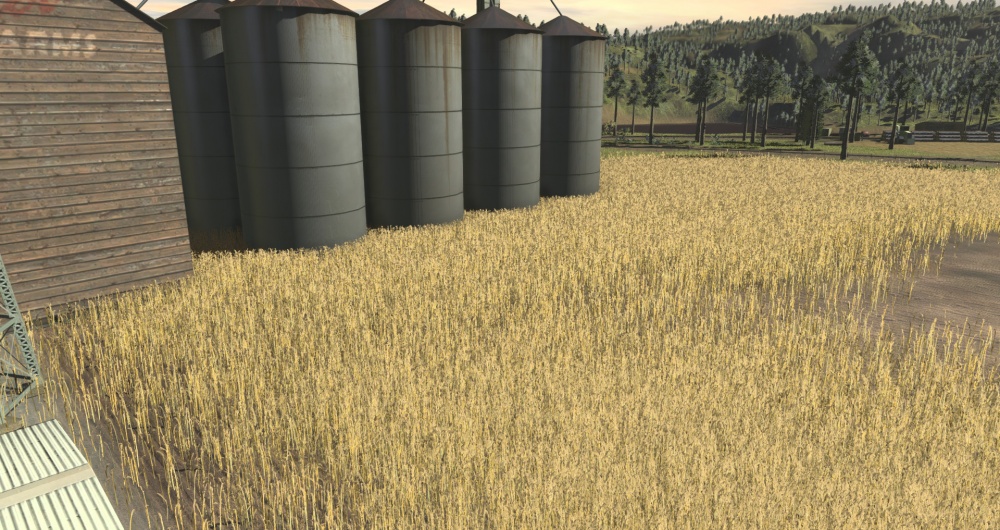
The TurfFX Effect Layer is an [[Effect Layer]] type which is used to render grass (and similar foliage). As with all effect layers, turf is painted onto the terrain and automatically generates appropriate geometry for the area surrounding the camera. As compared to the [[Clutter Effect Layer]], TurfFX offers less flexibility but substantial improvements to performance which in turn allows for greater density at greater draw distances and effective wind-synchronised animation. | The TurfFX Effect Layer is an [[Effect Layer]] type which is used to render grass (and similar foliage). As with all effect layers, turf is painted onto the terrain and automatically generates appropriate geometry for the area surrounding the camera. As compared to the [[Clutter Effect Layer]], TurfFX offers less flexibility but substantial improvements to performance which in turn allows for greater density at greater draw distances and effective wind-synchronised animation. | ||
| Line 231: | Line 232: | ||
3. With TurfFX disabled, the Effect Layers are ignored entirely, and there is no performance penalty for those objects that are disabled. | 3. With TurfFX disabled, the Effect Layers are ignored entirely, and there is no performance penalty for those objects that are disabled. | ||
| + | =TurfFx Asset Creation= | ||
| + | For detailed information on creating new grass types, crops, weeds etc, please visit [[Effect_Layer_Assets]] | ||
| − | + | =See Also= | |
| + | [[Help:Effect_Layer_Dialog]] | ||
[[Clutter_Effect_Layer]] | [[Clutter_Effect_Layer]] | ||
Revision as of 16:31, 12 June 2018
- redirect Help:TurfFX_Effect_Layer
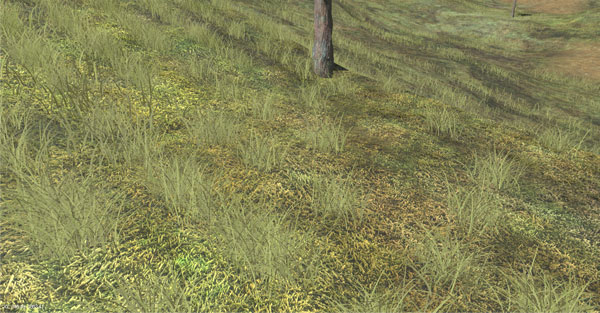
The TurfFX Effect Layer is an Effect Layer type which is used to render grass (and similar foliage). As with all effect layers, turf is painted onto the terrain and automatically generates appropriate geometry for the area surrounding the camera. As compared to the Clutter Effect Layer, TurfFX offers less flexibility but substantial improvements to performance which in turn allows for greater density at greater draw distances and effective wind-synchronised animation.
Overview
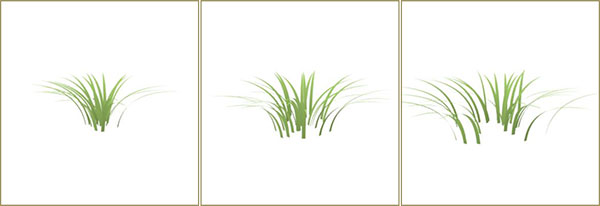
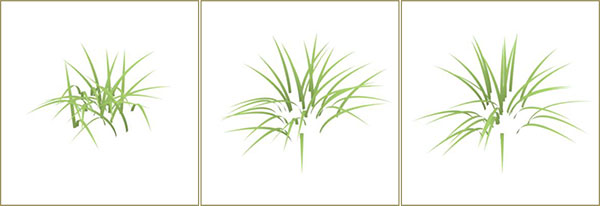
A TurfFx asset is made up of individual polygon blades with many options to configure each blade in your Turf Effect Layer and within the asset itself. The individual asset creation process is explained in Effect_Layer_Assets.
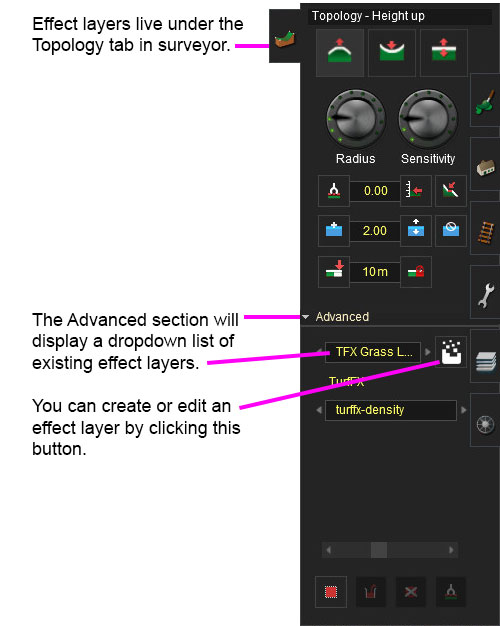
Creating and Editing Turffx Layers in Surveyor
NOTE: To return to ground editing mode you select "Ground" option in the dropdown list in the above image
Effect Layer Window
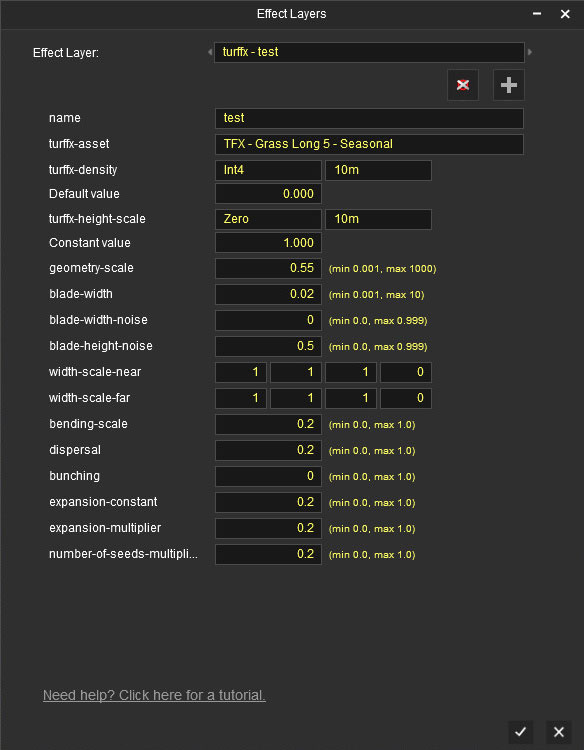
The Effect Layers window allows you to edit your effect properties. The UI in this window will change based on what effect you choose (clutter, turf, something else).
Select
This allows you to select any existing effect layers to view and edit their parameters.
Delete
This button will delete the currently selected effect layer.
Add
This button will allow you to create a new effect layer.
Name
Enter a name for your effect layer.
Turffx-Asset
Select a "Turf" asset you want to use in your turffx layer from the dropdown list. Once selected and named, you can customise how this particular layer will be configured wherever it is painted throughout the route.
Note that if you want short grass and long grass, you need to create two different TurfFX layers.
Turffx-Density Data Binding
The "turffx-density" options and associated "constant" value control the Effect Layer Data Binding (read this link for details) which controls the density of this turffx layer across the route. Density ranges from 0.0 (no turf present) to 1.0 (maximum density).
NOTE: The turffx-density parameter (int1, int2, int4 ...etc) determines how accurate your density will be when painting with the height up/down and sensitivity radius in the topology tab. For example, int1 will give you 1 click while painting to get 100% density (off or on). Int4 will give you 1 click for 1/3rd density, 2 clicks for 2/3rds density, 3 clicks for 3/3rds density. Obviously the more accuracy you need the more data will need to be stored so use the appropriate data binding for the effect you require.
Turffx-Height-Scale Data Binding
The "turffx-height-scale" options and associated "constant" value control the Effect Layer Data Binding (read this link for details) which controls the height of this turffx layer across the route. Height ranges from 0.0 (no turf present) to 1.0 (maximum height).
Geometry-Scale
This changes the height of your blade geometry in meters.
Blade-Width
This changes the width of your blade geometry in meters.
Blade-Width-Noise
This adds random variation to the width of your blade geometry.
Blade-Height-Noise
This adds random variation to the height of your blade geometry.
Width-Scale-Near
This defines the shape of your blade geometry up close to the camera.
Width-Scale-Far
This defines the shape of your blade geometry in the distance.
Bending-Scale
Defines how much your blade geometry will bend in the wind. (bending strength for wind animation)
Dispersal
Dispersal controls the radius around a seed point to place individual grass blades.
Bunching
Bunching controls radial alignment of individual grass blades around the seed point. Bunching equal to one (1) produces maximally aligned distribution of grass blades, while zero (0) would result in completely random distribution.
Expansion-constant
TBD
Expansion-multiplier
TBD
Number-of-seeds-multiplier
TBD
Painting Turffx
Using Height Up and Down Tool
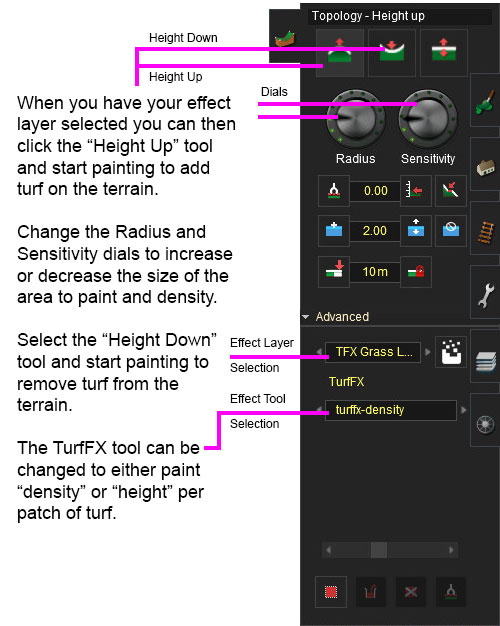
Effect Layers are selected in the Advanced Topology Tab. When you change from Ground to any of the Effect Layers you have created, the Height Up, Height Down and Radius tools are used much like the tools in the Paint Tab.
Using Area Fill Tool
You can also select an area and fill the area with your selected Effect Layer Binding. Set the Effect Fill Density slider when using the Fill tool to adjust the density of your effect layer.
Painting Tips
- Effect Layers are data intensive, and so you need to work out where you require precision (e.g. in highly visible areas) and where you can use much less precision (e.g. away from the track areas)
- Using 2.5m precision everywhere will consume your scene budget very quickly.
- Using the turffx-height-scale tool will raise or lower existing effect layers only. (i.e. you need to paint some density prior to adjusting the height)
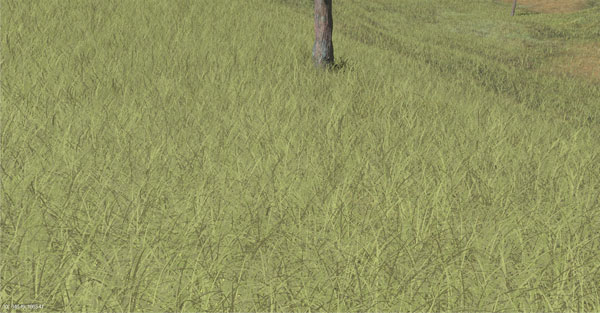
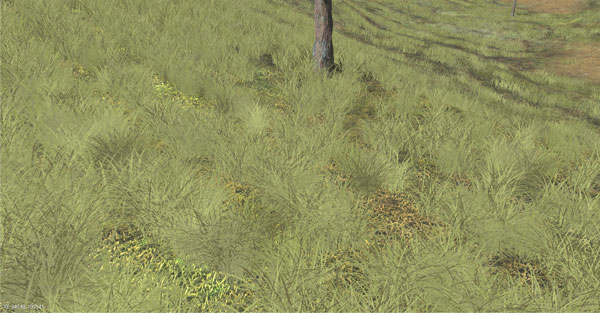
- Experiment with different values such as using 0.001 for dispersal to get that "clumpy" look (then try 0.05, 0.5 etc for different looks)
Example Usage
Surveyor Bulk Editing Tools
In future updates we plan on expanding the TurfFX tools to enable global updates such as adding a TurfFX layer to an existing ground texture. These tools, when introduced, will greatly speed up the conversion process from older routes.
Hardware Limitations
TurfFX is developed by NVIDIA and is designed to takes advantage of high-end GPU's with substantial amounts of VRAM.
1. TurfFX is currently supported only for Windows.
2. Whereas Trainz will typically run (albeit slowly, or at reduced settings) on below-spec computers, TurfFX will need to be disabled entirely if the GPU is insufficient. We expect the minimum of a GeForce GTX 750 to get reasonable performance.
3. With TurfFX disabled, the Effect Layers are ignored entirely, and there is no performance penalty for those objects that are disabled.
TurfFx Asset Creation
For detailed information on creating new grass types, crops, weeds etc, please visit Effect_Layer_Assets
See Also
Help:Effect_Layer_Dialog Clutter_Effect_Layer
Back to Effect_Layer
