Muti-materials on a single object with Substance Painter
Contents |
Page under construction !
To a good understanding of this tutorial, you are supposed to be familiar with DSMax or Blender, and have at least a basic practise of Sustance Painter.
Substance Painter (hereafter referred as SP) is a very powerful tool to create realistic textures for your models. But it suffers from two limits.
The first one occurs when on a single object, you want to apply several materials. SP will then export as many set of texture files (albedo, parameters and normal) as there are materials. Yet you only need one albedo file, one normal file,... Luckily, there is a way to work around the problem : this solution is explained in a first section of this 'How To'.
If you apply the proposed solution, you will then encounter the second limit of SP : when you use a 'smart mask' on a specific material, this mask will affect ALL the used materials. This time also, there is a solution, exposed in the second part of this 'How To'.
Several materials on a single object, but only one set of exported texture files
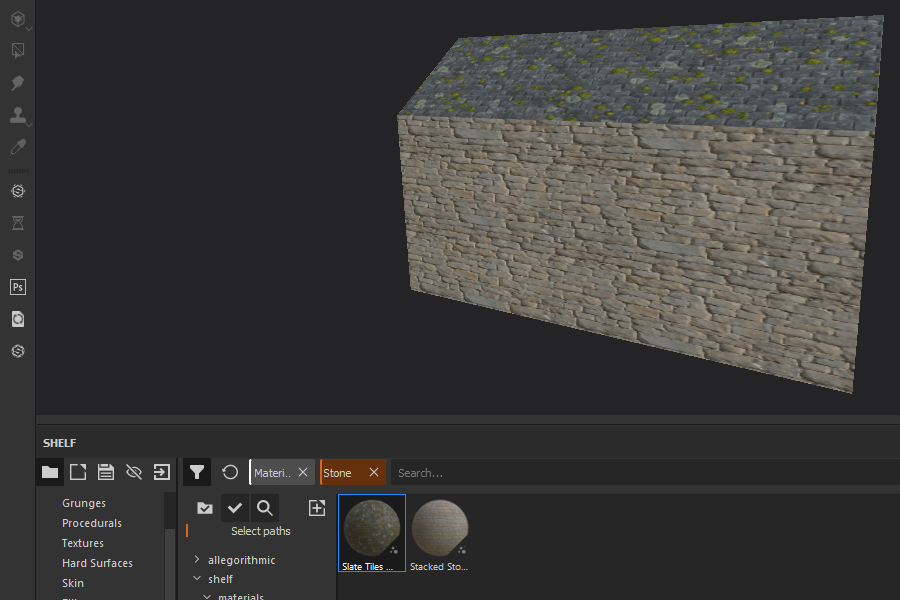
Imagine a house you have just modeled with DSMax or Blender. It's a single object. To texture it, you will apply a 'roof tiles' material on the roof, a 'plaster' material on the wall, etc... SP will export as many set of texture files that there are materials : 'roof tile' albedo, 'plaster' albedo, 'rooftiles' normal, 'plaster' normal, ....
If we want to export just one set of texture file, what shall we do ?
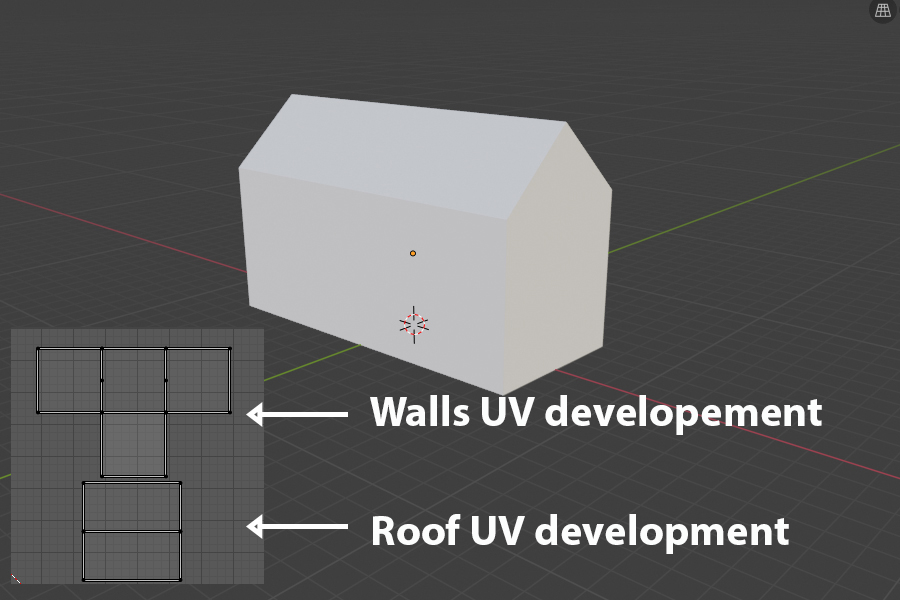
Here is our house. All faces are supposed to have been developped (UVW process).
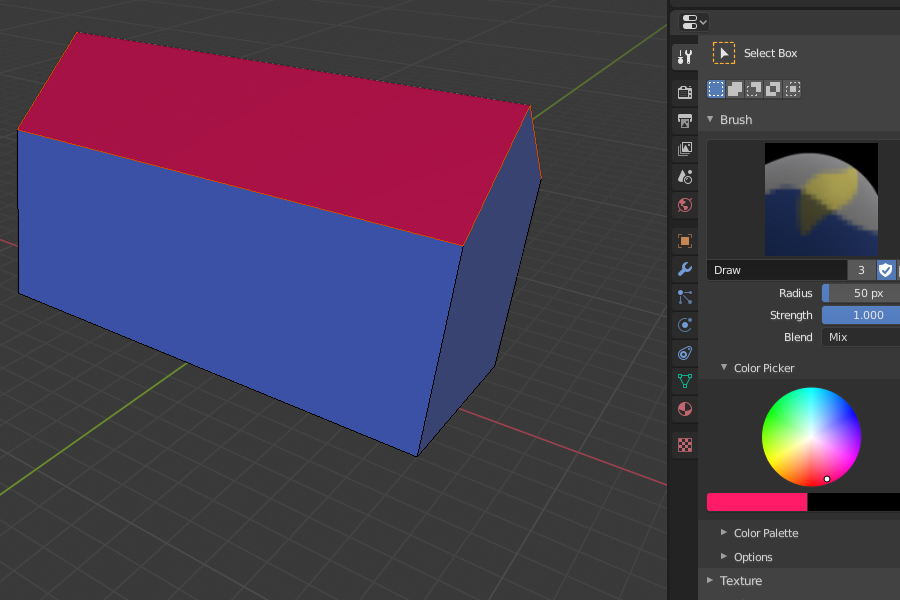
If you work with Blender, follow these steps...
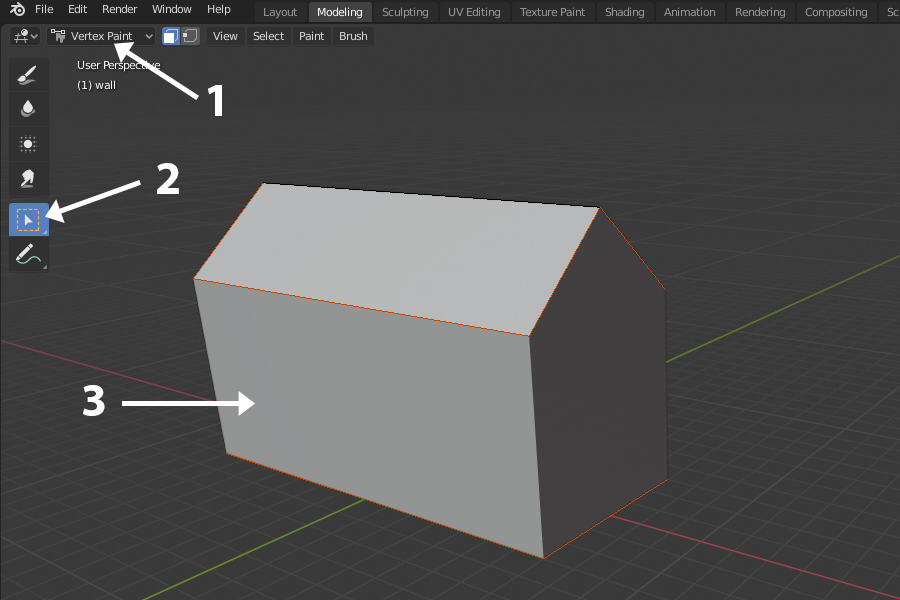
1 : Choose the mode : VertexPaint
2 : Click on Select Box
3 : Select all the walls of the house
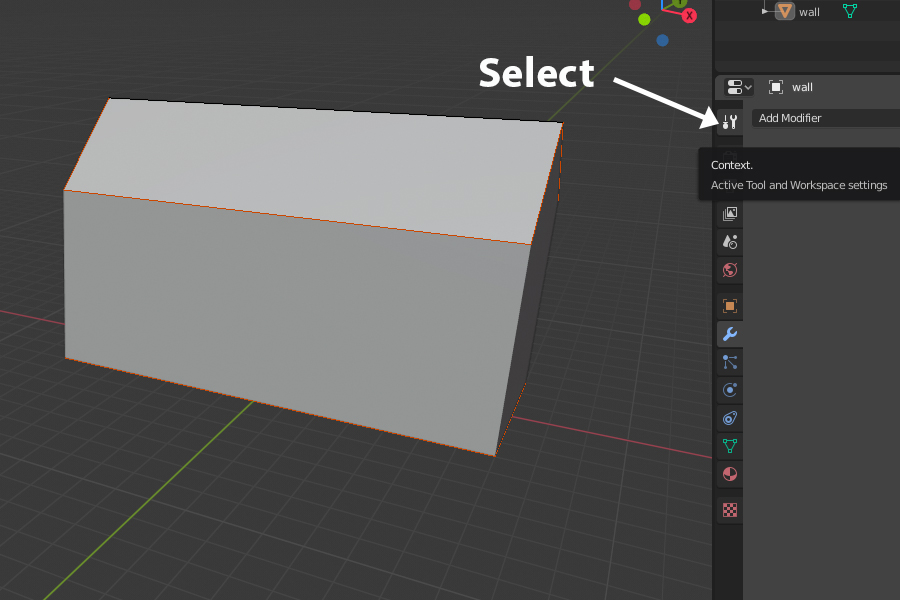
On the righthand of your screen, select 'Active Tool...'
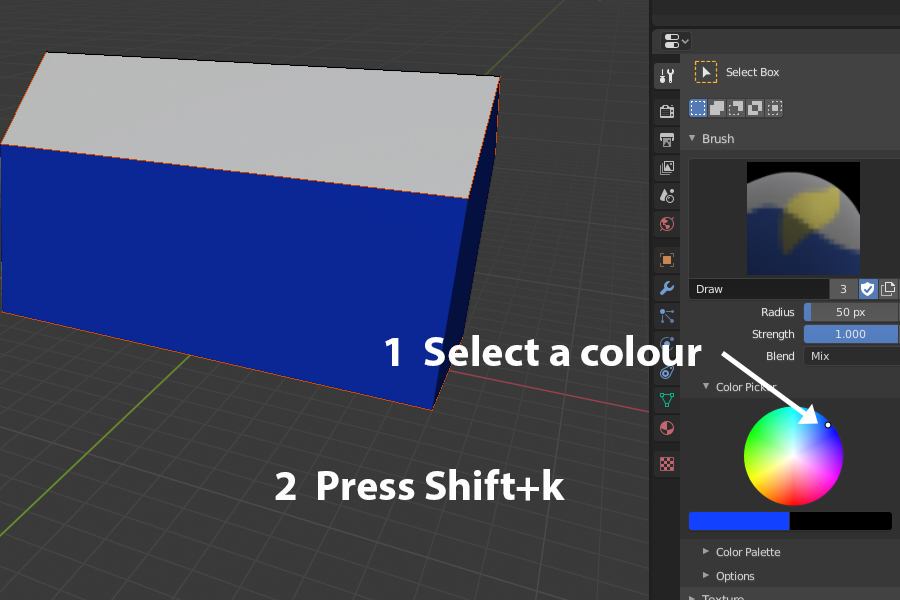
Select a color on the 'Color Picker' and press Shift+k : the walls take on the colour you have chosen.
Repeat this procedure to color the roof with an other colour...
Export the house in FBX format and open Substance Painter.
In SP, open your project : File/New/Select... the FBX export file of the house.
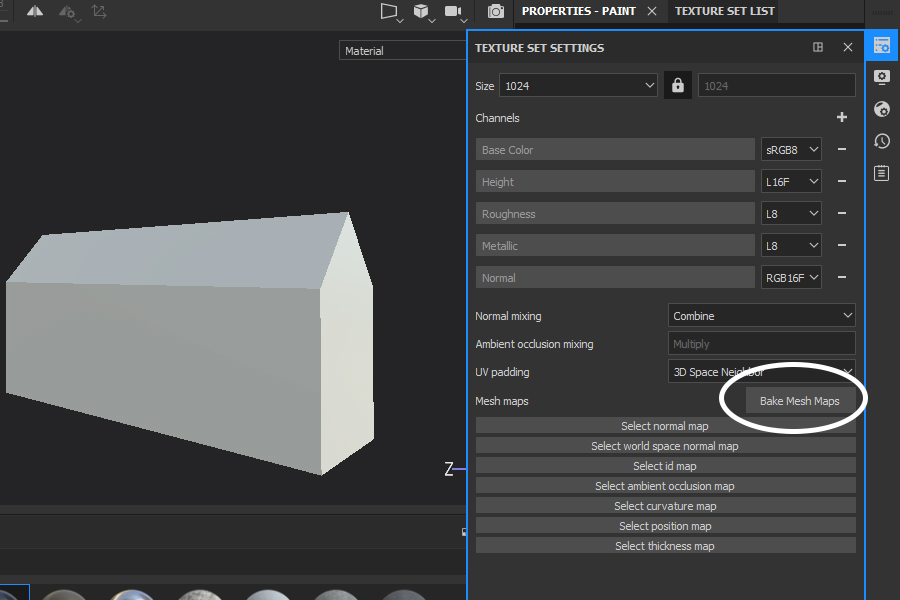
Once the house appears on the screen, open the 'Texture Set Settings' tab and click on 'Bake Mesh Maps'
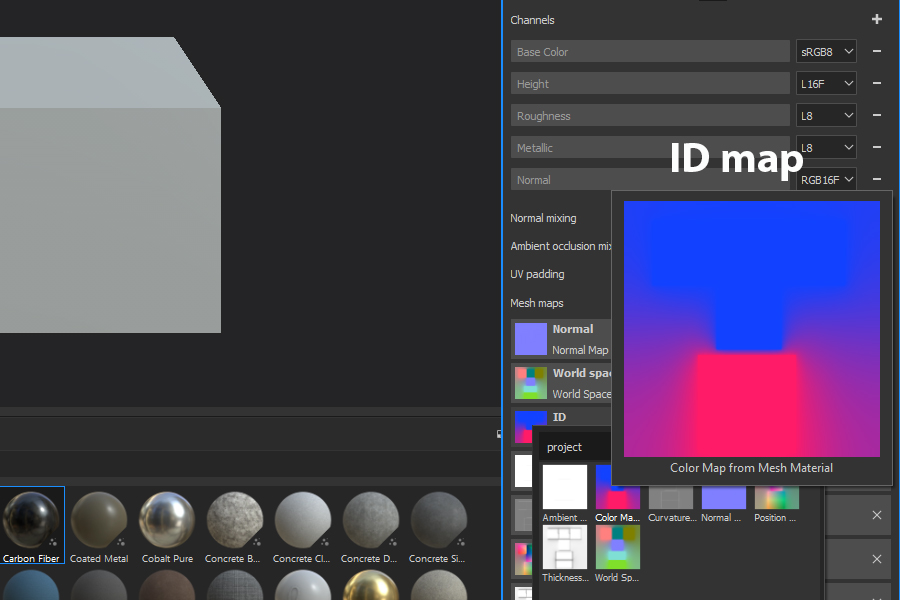
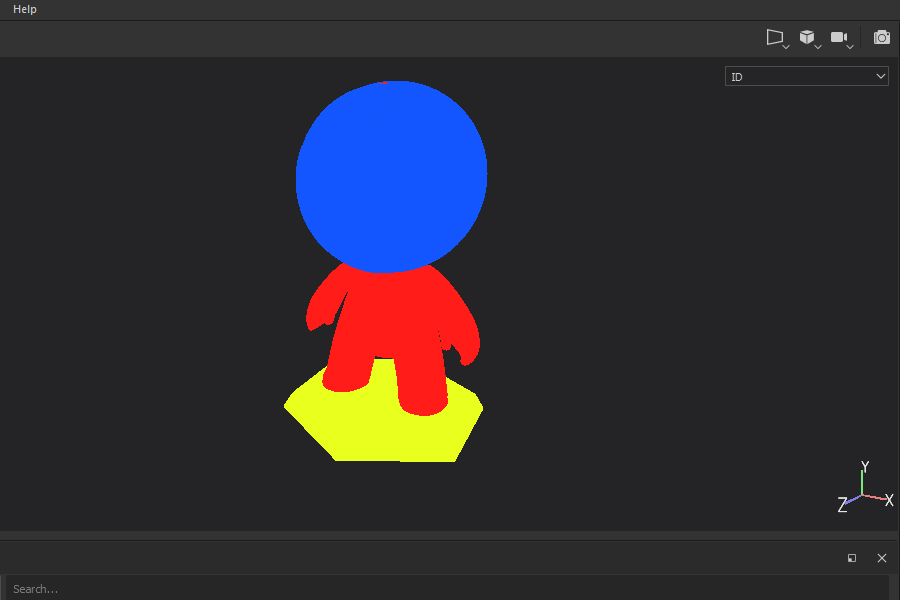
Once the process is completed, you can observe the result, in particular the ID map : the UV development of the walls (blue in our example) is clearly well separated from the development of the roof (in red).
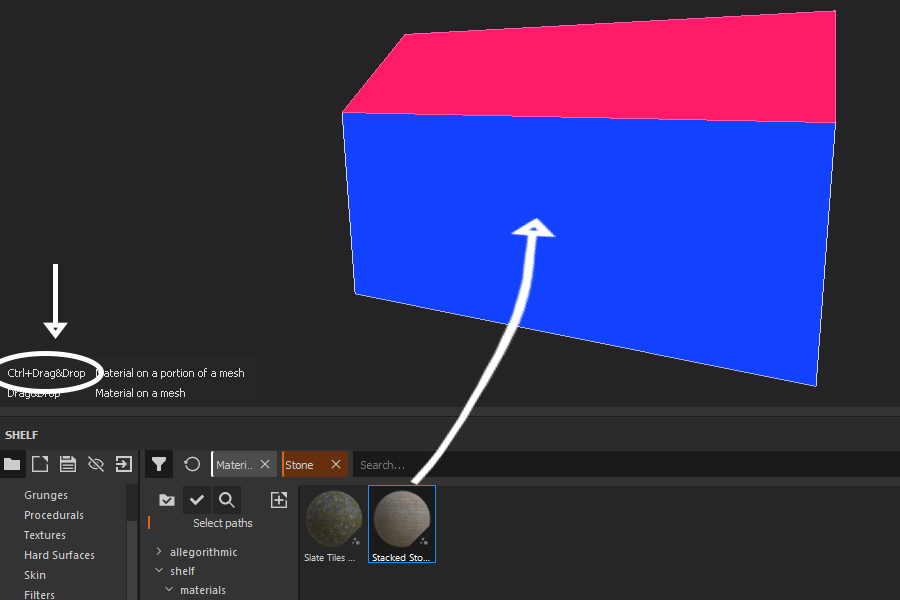
Apply now a material of your choice on the walls, and then on the roof. To do this, CTRL+drag the material from the shelf towards the desired part of the model. By doing so, you will see that the model (the house) becomes colored with the colors choosen with the 'Vertex Paint' process. This is very helpful to precisely select the zone to be textured.
Here is the result :
Export now the texture. Don't forget to carefully choose the good 'Config' : Trainz2019 (to see in detail the export settings for Trainz : Substance Painter Export Preset )
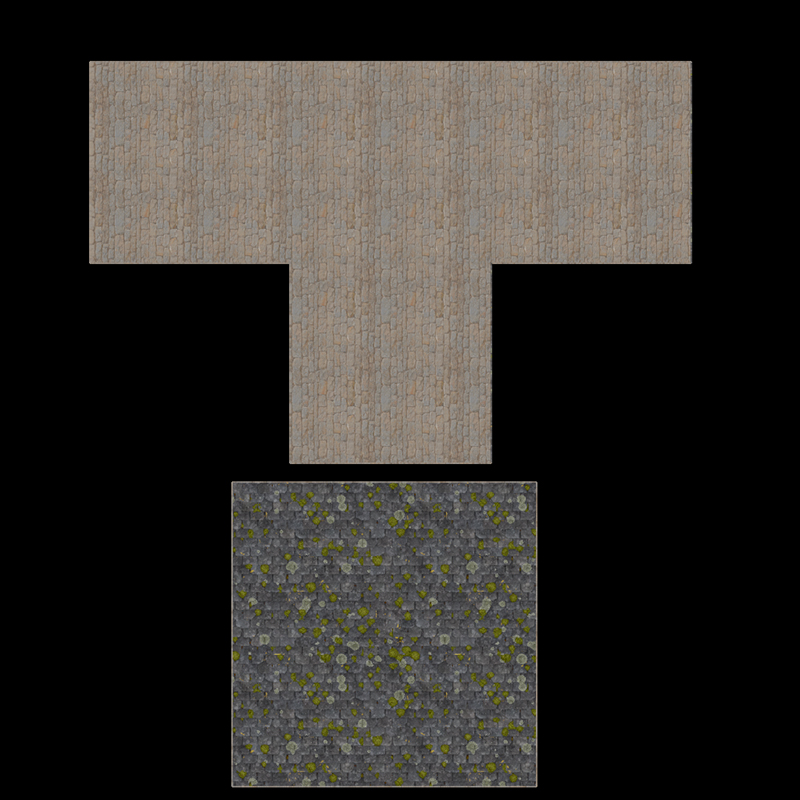
And...Hurrah!...there is only one set of texture files : albedo + parameters+normal.
The 'albedo' file with its two materials (there could be many more) :
Well... now that we are champions of texturing, let's see how to cope with the 'smart masks'.
Applying a 'smart mask' without affecting the whole model
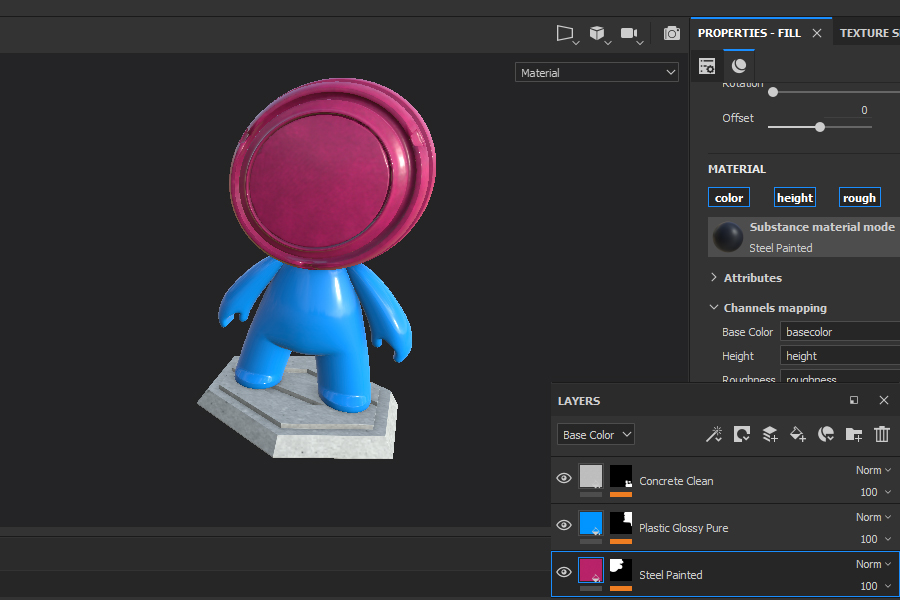
To illustrate the second part of this 'How To', I chose the little character provided with SP. On it, I applied three different materials :
To do this, I used the 'Vertex Paint' process, as depicted in the first part of this 'How To' :
Now, I want to apply on the head of the character a 'rust' effect that will appear only on edges of the surfaces.
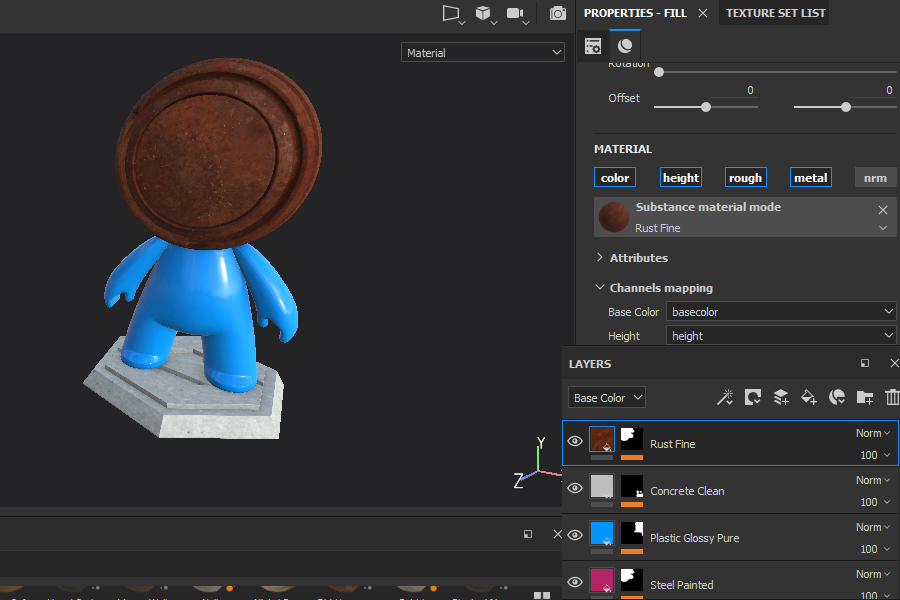
I firstly ctrl+drag a 'Rust Fine' material on the head :
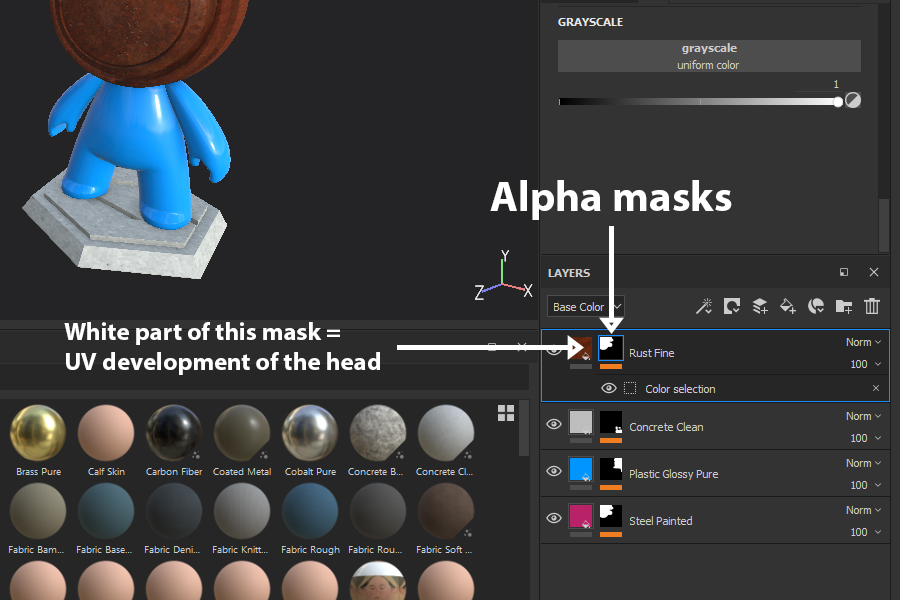
I have just added a new material on my character, and I note that there is no mixing : the 'Rust Fine' is coloring only the head. To a better understanding of this behavior, just have a look on the alpha masks of each material. The white parts correspond exactly of the UV development surface that each element of the charater occupies. And each material is visible only where its corresponding alpha mask is white.
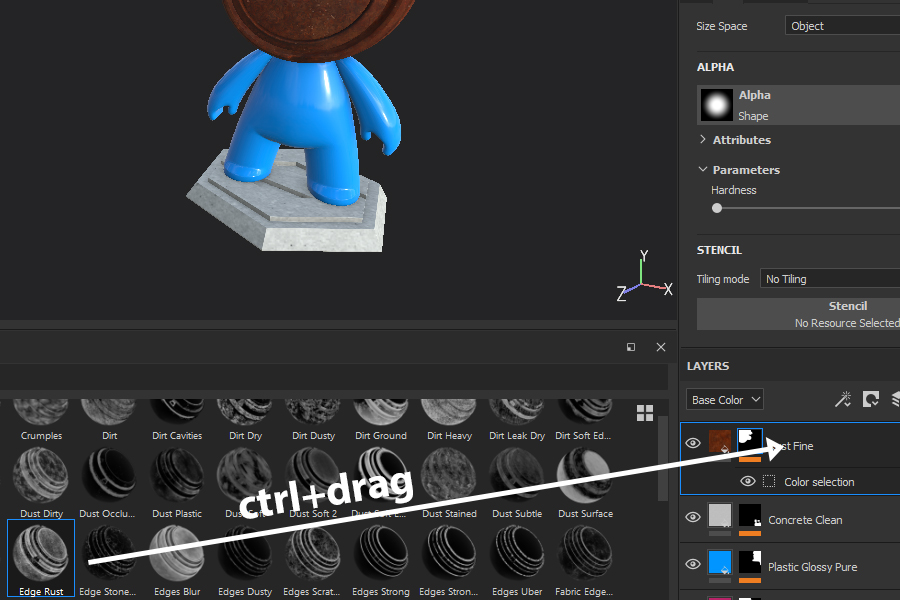
To continue, I ctrl+drag a smart mask on the Layers Tab, at the exact location of the 'Rust Fine' material :
The result is not exactly what we wanted : there are rust stains eveywhere.
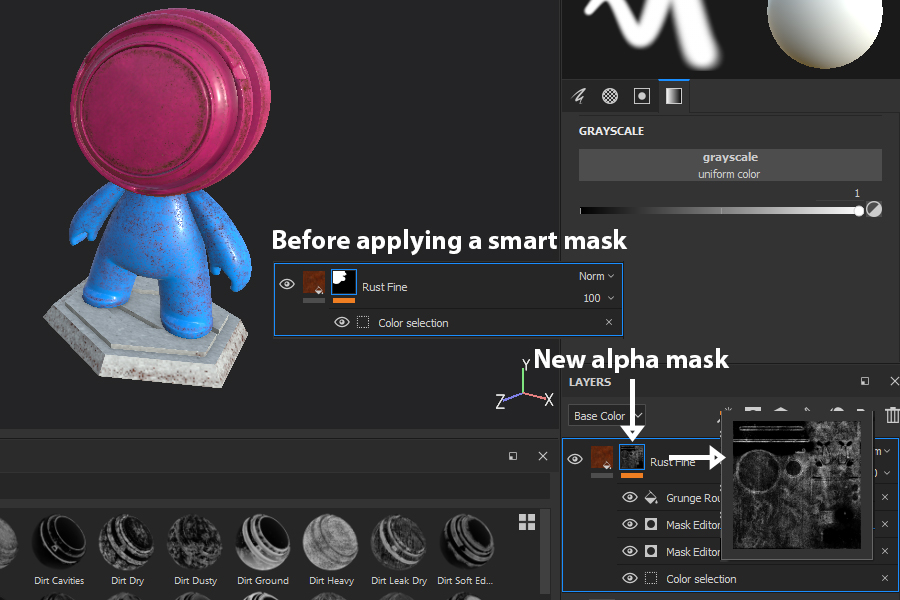
To understand what happens, again have a look on the alpha masks of our materials :
we can see that the alpha mask of the 'Rust Fine' material has completly changed and that it no longer operates a stricly separation between the UV development of the head and the rest of the model.
OK. We have thus to transform the alpha mask of the 'Rust Fine' material.
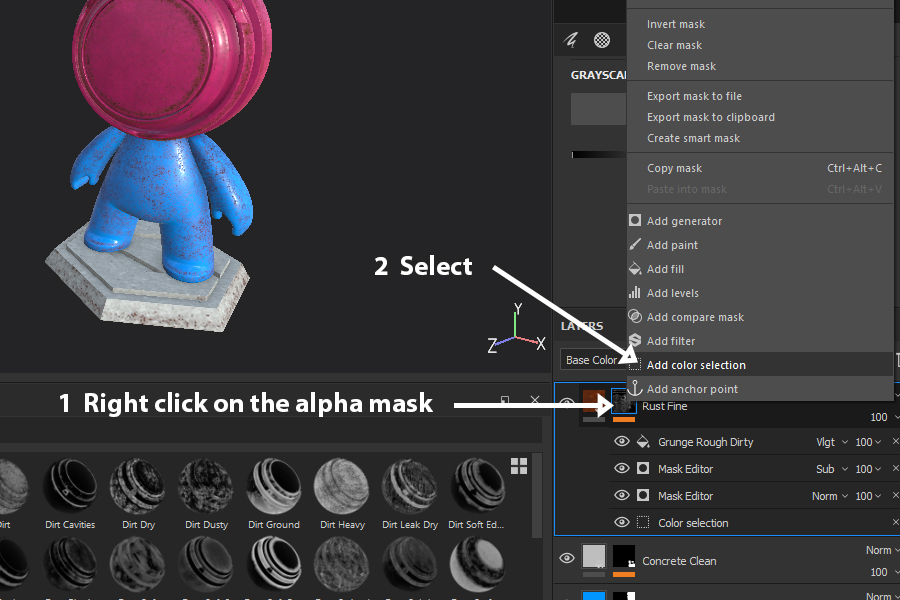
Here is the procedure :
Right click on the alpha mask and select 'Add Color Selection'
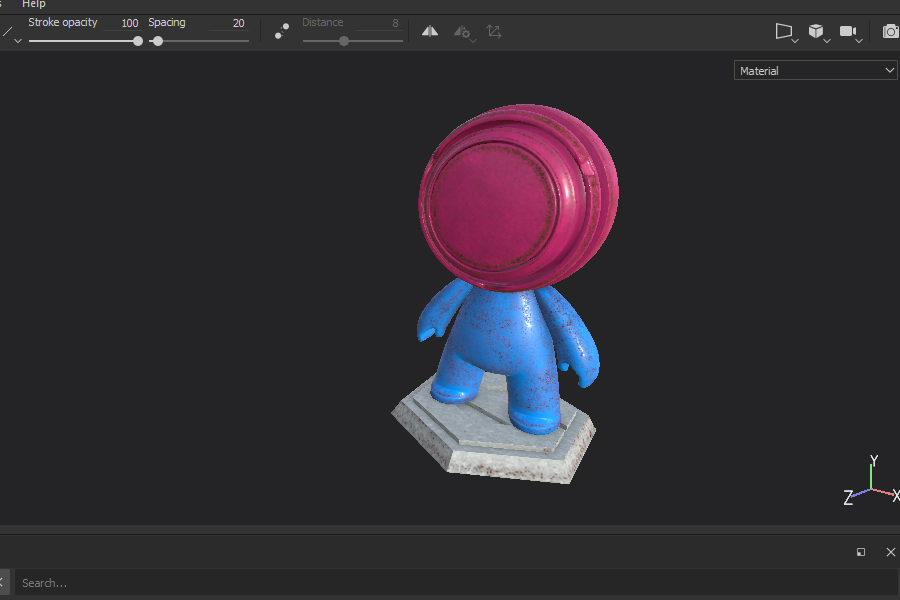
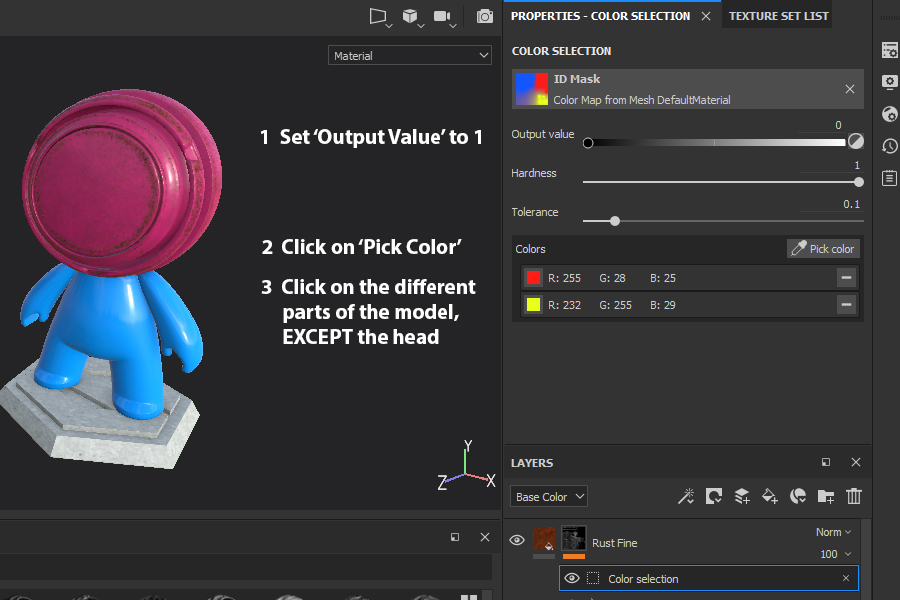
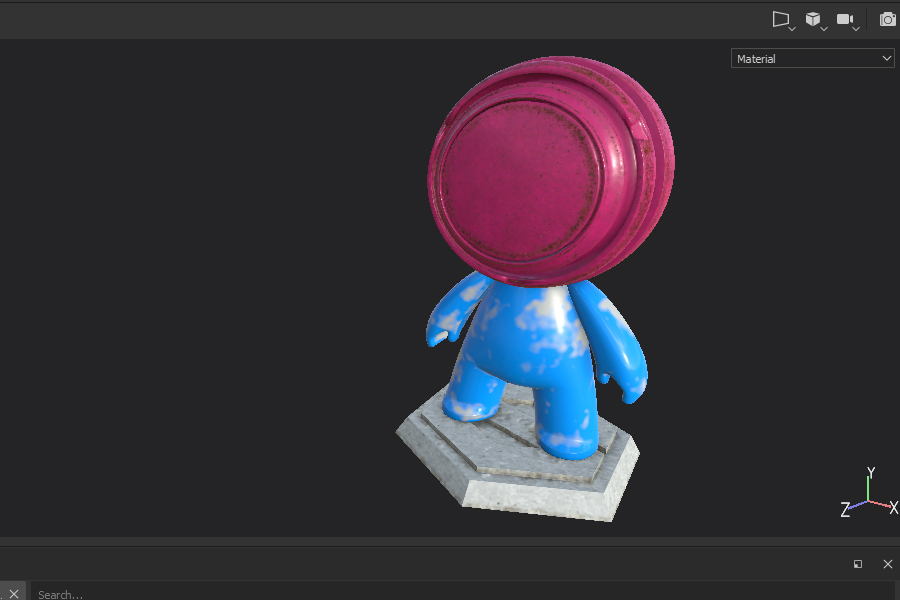
Follow the instructions as shown below : the rust stains will disappear from the body and the pedestal.
You can now repeat this method to transform your materials, with the assurance that there will be no mixing between the 'smart masks'.
